
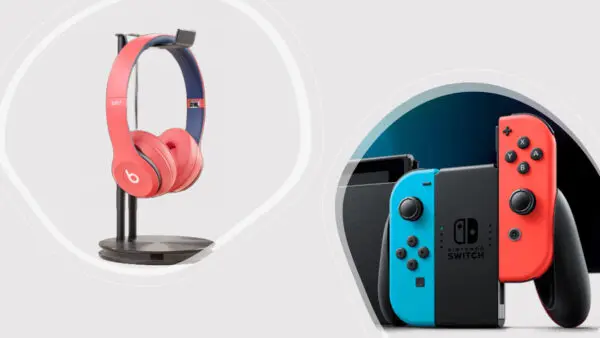
Are you a gaming enthusiast who loves to enjoy immersive audio while playing on your Nintendo Switch? If you own Beats Solo 3 headphones and want to know how to connect Beats Solo 3 to Nintendo Switch, you’re in luck! In this easy-to-follow guide, we’ll show you three different methods to connect your Beats Solo 3 to your Nintendo Switch so that you can enjoy a captivating gaming experience with rich, high-quality sound.
Check out our whole category of on-ear headphones including our favorite Beats Solo 3
[toc]
How to Connect Beats Solo 3 to Nintendo Switch
There are four methods that will enable you to connect your Beats Solo 3 to a Nintendo Switch which are:
- Direct Bluetooth pairing
- With a Bluetooth adapter
- With a headphone jack
- With a 3.5mm Bluetooth transmitter
Direct Bluetooth Pairing
The easiest way to connect your Beats Solo 3 to your Nintendo Switch is through Bluetooth pairing. Follow these simple steps:
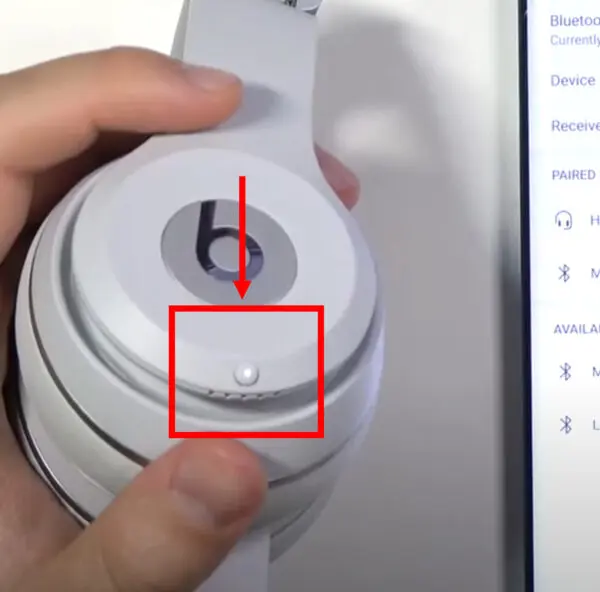
- Prepare Your Beats Solo 3
Press and hold the power button on your headphones for about 5 seconds until the Fuel Gauge starts flashing. This indicates that your headphones are now discoverable.
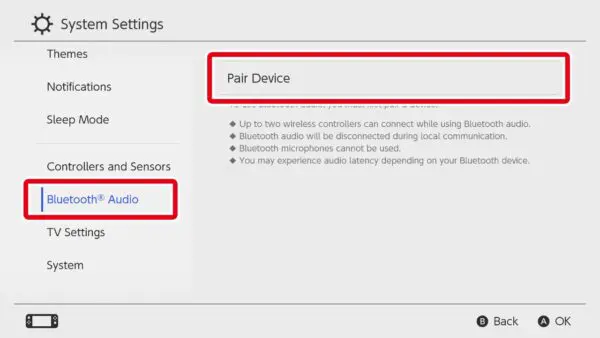
- Access Nintendo Switch Bluetooth Settings
From the Switch home screen, navigate to “System Settings.” - Choose Bluetooth Audio
Select “Bluetooth Audio” from the options.
- Pair Your Beats Solo 3
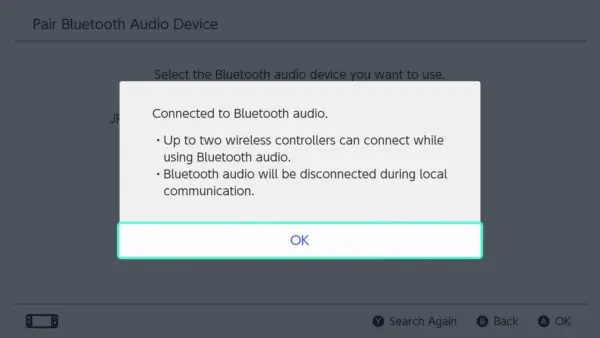
Click “Pair Device,” and your Nintendo Switch will search for available Bluetooth devices. When your Beats Solo 3 headphones appear on the list, select them to initiate pairing. - You’re Connected
Congratulations! Your Beats Solo 3 headphones are now successfully paired with your Nintendo Switch. Get ready to enjoy your games with exceptional audio quality!
On our website, we talk only about headphones, our passion is to give all the information to our readers
Limitations of Direct Bluetooth Pairing with Nintendo Switch
While connecting your Beats Solo 3 to your Nintendo Switch via Bluetooth is convenient, there are some limitations to be aware of:
- Controller Limitation:
While using Bluetooth headphones, you can only connect up to two wireless controllers. Keep this in mind if you plan to play multiplayer games with friends. - Local Multiplayer Interruption
If you play locally with friends using multiple controllers, your Bluetooth headphones may disconnect during gameplay. - Bluetooth Microphone Unavailable
Nintendo Switch does not support Bluetooth microphones. You won’t be able to use the microphone on your Beats Solo 3 for in-game chat or voice communication. Instead, you’ll need to use a headset connected via the USB-C port on the Switch dock or the headphone jack on the system itself.
Hey wait, do you know we also published a detailed guide on “how to connect Beats Studio 3 to Nintendo Switch“
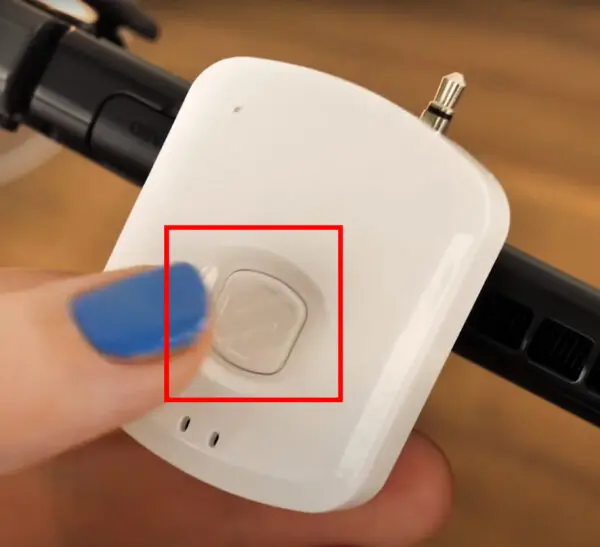
With a Bluetooth Adapter
Suppose your Nintendo Switch firmware is outdated or you encounter any issues with direct Bluetooth pairing. In that case, you can still connect your Beats Solo 3 using a Bluetooth adapter. Follow these steps:
- Obtain a Bluetooth Adapter: Purchase a Bluetooth transmitter compatible with the Nintendo Switch.
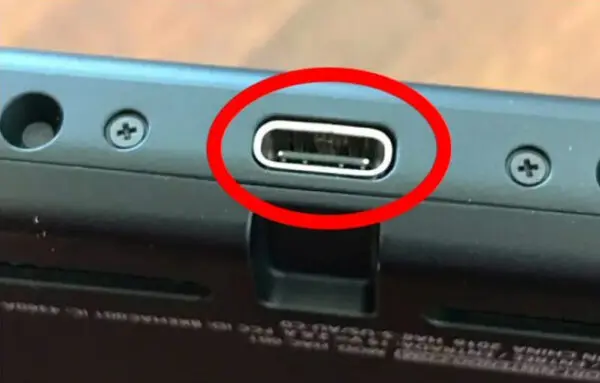
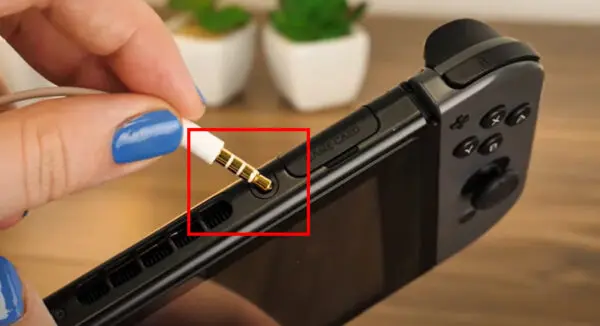
- Connect the Adapter: Plug the Bluetooth transmitter into your Switch’s USB-C charging port located at the bottom while in handheld mode.

- Put Your Beats Solo 3 into Pairing Mode: Hold the pairing button on your headphones to make them discoverable.
- Automatic Connection: Once the Bluetooth transmitter and your Beats Solo 3 headphones are in pairing mode, they should automatically connect.
With a Headphone Jack
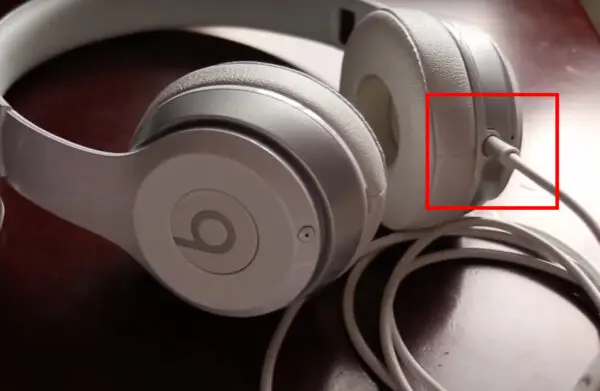
In case you prefer a wired connection, you can use the 3.5mm headphone jack on your Nintendo Switch to connect the Beats Solo 3 headphones. Follow these simple steps:
- Plug In Your Headphones: Connect your Beats Solo 3 to your Nintendo Switch using the 3.5mm headphone jack.


- Play and Enjoy: Once your headphones are plugged in, you can start enjoying your gaming experience with enhanced audio quality.
With a 3.5mm Bluetooth transmitter
There is another option if your USB-C port is preoccupied or you can not find a 3.5mm audio jack cable then you can use a 3.5mm Universal Bluetooth adapter. 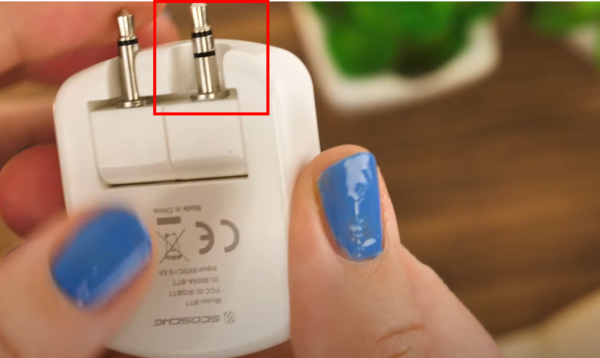
- Put the 3.5mm pin of the wireless transmitter in the corresponding port of the Nintendo Switch.

- Press the system button for 5-10 seconds until the LED light starts flashing.

- Press the system button on Beats Solo 3 for 5-10 seconds until its LED light starts flashing.
- Wait for them to pair with each other.
- Congratulations, you have done it. You deserve a reward now.

Now you know in detail how to connect Beats Solo 3 to Nintendo Switch. If you have any further questions, kindly comment below.
FAQs
Can you connect Beats Solo 3 to Nintendo Switch?
Absolutely! With the latest Nintendo Switch firmware (version 13.0.0 or higher), you can wirelessly connect your Beats Solo 3 headphones to your gaming console. Follow the easy steps outlined in this guide; you’ll be gaming with enhanced audio in no time.
Do Beats Solo 3 work with Nintendo Switch?
Yes, they do! Beats Solo 3 headphones are compatible with Nintendo Switch, and once connected, you can enjoy your favorite games with high-quality audio and incredible beats, elevating your gaming experience to a whole new level.